Welcome!

This site is dedicated to my model railroad, the HO scale Virginia Midland Railroad. This layout comprises a 12X9 room with two levels. The upper level is complete and the lower level scenery has just begun.

I do a handful of train shows in the Virginia/Maryland region with Makin Tracks.
I also can help you find that freight car/locomotive or other hard to find item.

Email: virginiamidlandshops@gmail.com
You tube videos: http://www.youtube.com/user/Virginiamidlandrr/
Showing posts with label helix. Show all posts

Monday, July 31, 2017

And for something different to benefit the layout

As you know, I do a few videos on You Tube and I also have several channels I check out.  Not only do I look for what's on the layout, but what's off or around the layout.  I was watching a video just last week and noticed shelved drawers under the layout.  These would have to be for freight car storage and I was correct.  Eric Miller of SPSF fame SPSF Railway  (make sure you check out his website!) has a very nice layout.  I contacted him and he send me some pictures of the shelving units.

Here is a picture of Eric's drawers (Eric Miller photo)
  So I began to ponder and figure out how I can build one of these.  I only need one for my small layout.  It was nice to have a bunch of excess wood in my shed I could build the drawers with.  Had to go to my local Home Depot to get the 3/4" cabinet wood sides and the drawer hardware.
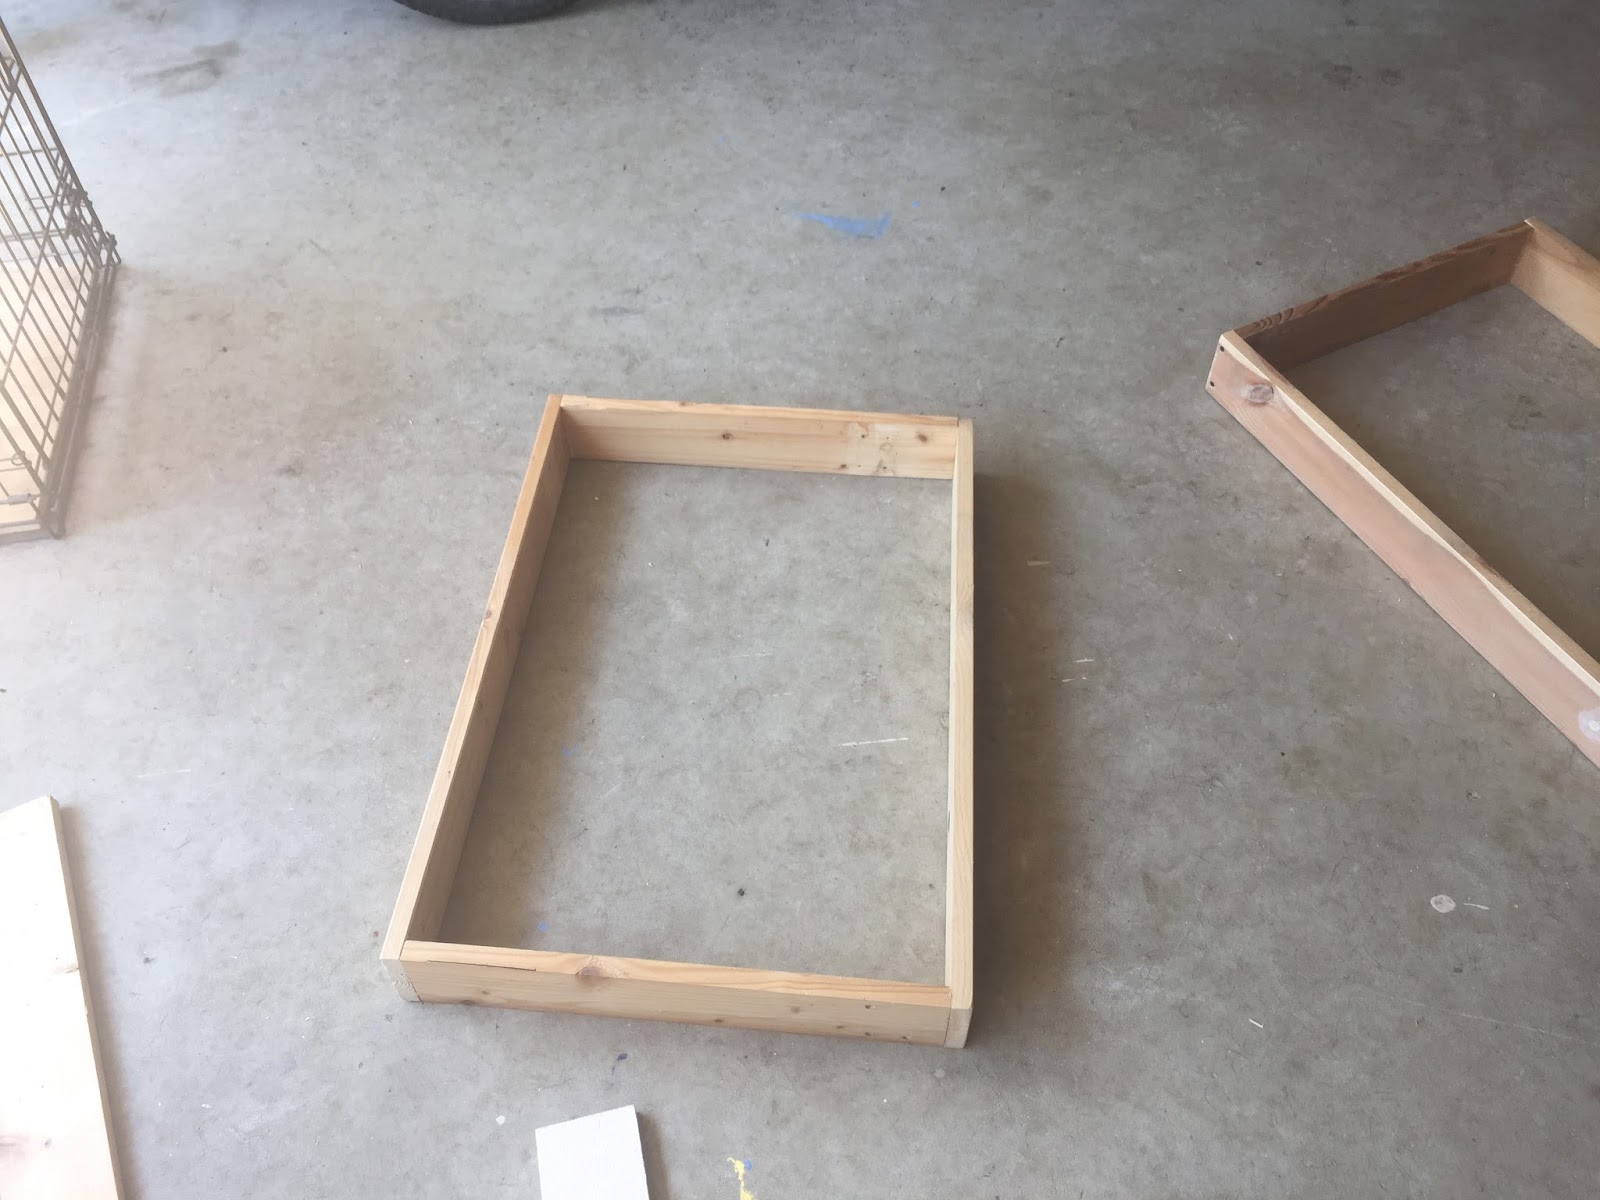
The first of many drawers

Lining up the sliding parts and leaving enough space between was tough but it worked out.

Wow!  I have some major space to put cars in these seven drawers.  Now to figure out what to use/how to divide up the drawers. 

My stopping point today.  Tomorrow I hope to complete this project and it will require a trip back to Home Depot!
I also finally finished my track laying of staging track by my helix last week.  I have 2 good sized tracks to hold entire trains to run east across the layout.
Here's the end of the 2 staging tracks.  The one starts to run back up the helix.  My helix is made for 2 tracks.

This is what I added to complete it.

The mainline and the Parker passing siding is on the left and the 2 staging tracks are in the middle of the picture.  Still need to power the turnout.

Tuesday, March 14, 2017

A snow day: Time for some layout work!

The last three weeks have been quite busy for me.  Work on the layout has been nonexistent, except I did get the hole cut in the wall two weeks ago.  I followed up with track and a turnout install on Sunday.   That's been it!  Today, I was fortunate to get a day off of work and I got a few things done on the layout.  Most of my work today was in the garage, beside the helix.  My last post on the lower level track work is here and a great lead into today's post:
http://virginiamidlandrr.blogspot.com/2017/01/monday-evening-track-work.html

Today was track work intensive.   I continued the passing siding through the wall and onto the platform that supports the helix.
Here's the new entrance to/from the helix.  Decided to put a passing siding in to help alleviate traffic going into Battlefield Yard.


Woodchip hopper checking clearances

The view through the hole.


After adding the track in the garage for the passing siding, I decided it was not long enough and wanted to make it longer.  So I added more flex track and curved it make it more than enough.  Work would have continued but I ran out of small screws that hold the track in place.


Test fitting the passing siding 

My door to cover the hole when not in use.

Original plan

My work area on the helix platform.

The long passing siding and through track will now curve around to give me plenty trackage.

Monday, August 10, 2015

A little scenery and boom it's back!

Yes, tearing up a completed section and putting it back together took longer than I thought but finally it's done.  I'm talking about the track to the helix from BY.  I did the ballast last night because it needs several hours to dry so I did it before I went to bed..  Completed the scenery (grasses and weeds) this afternoon and just put the trees back in order just now.  Now the scene is complete and I can move on to other items.

I find I get really distracted once I get in the layout room.  I have some signals that I need tested that came off the layout last year.  The wires are not marked well so I will be doing some figuring out of them.  I was going to do that tonight knowing all I need to do is the trees for the area I have been working on.   But, I find myself working on a few car cards.  Where did that come from???  I did get to the trees...


The shack is still by the tracks.  Lighter ballast in the new area.  I'm calling it done.

The object of the bridge is help conceal the "hole" to the helix.  

VMID #299 staged for a photo in the new scenery.

Are we hauling coal on the Midland?  Looks that way.  I'm in the process of building a small unit coal train for transfer to the F&NN.  Should be about 6-7 cars. 

Tuesday, July 14, 2015

Monday's layout work and decal completion

Spent a lot of time yesterday completing my large decaling job and finally tackling the trackage from Battlefield Yard (BY) to the helix.  A few posts ago, my main two objectives for the summer were to change the trackage on the Mine Run branch and take out the S curve to the helix from BY.  I completed the Mine Run trackage last week.   I hesitatated on the S curve replacement but decided to get into for some reason late yesterday afternoon.  The job turned out pretty easy and everything went better than expected.  The good thing about these projects is that I had everything I needed.  Track was reused and I did get down to my last rail joiner and track nails!  I'm hoping not to need anymore.  Nothing is worse than starting a project and needing a piece of track or other vital part.  I don't have any hobby shops around so most will be mail order.  So on to pics:

Decaling jobs:

A new sand hopper based on Greg McComas 's Michigan Interstate RR.  These will be in captive service hauling sand on the Midland.  The rust pits are decals by Weathering Solutions.  Still needs weathering.  

A VMID woodchip hopper.  The load was easily made with foam and sawdust.   

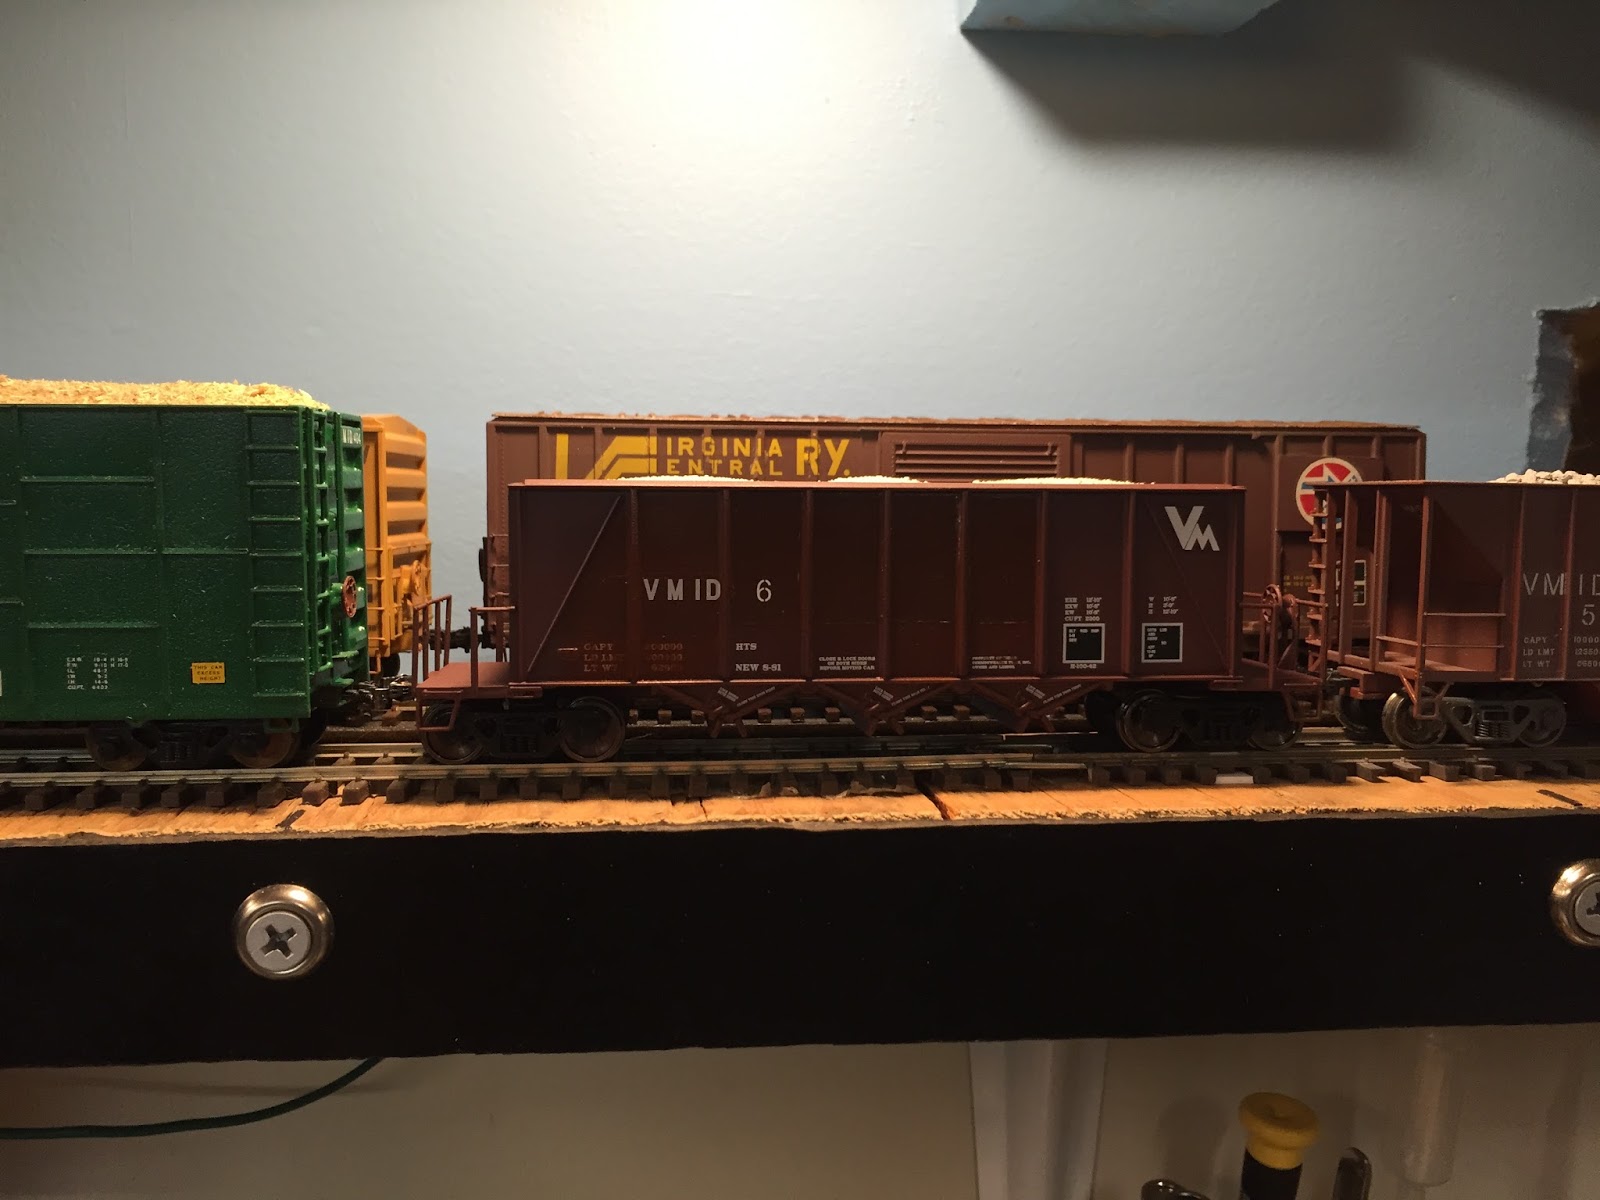
The Midland has good size fleet of stone hoppers now.  Here is VMID #6 Ex-SP.

Here is some new power on the Midland, GP35R #233.  This loco served the Virginia Central for the last several years and was recently bought by the VMID.  The patch job is typical for shortlines and turned out quite well.  Can you see my BN theme?  BN was my favorite railroad as a teen.  

Improved Trackage to the Helix:

The reason why the trackage had to be improved is because there a small S- curve leading towards the helix.  This is a busy piece of track and with the scenery in, was no fun having a derailment there.  Most cars and 4 axle locos were fine through it.  My longer 6 axle locos did not like it.  The main reason why I've added a SD50 is to work the grade on the helix.  So a change was needed.

Here is the S curve.  All I did was move the crossing in the wall to the right and straighten out the curve.  


Track removed and the hole in the wall enlarged.  Had to take out some scenery but have a plan on what to put here already.   Could not go any farther right because of a stud in the wall. 

Wow, why didn't I do this first time?  No curve now!

My only casuality, my signal.  I unattached it from the ground but for some reason it doesn't lit up now.  If this is the case, it will be the 2nd signal to bite the dust here.
A view from the helix side.  Definitely a easier job than I originally thought.
 I finished late last night after several breaks.  Still have a couple of things to sort out but a major improvement.  The SD50 already loves it!


Wednesday, April 23, 2014

Completion of my hidden staging

Had to the chance to get some layout work done this week, since it is my spring break.  This afternoon, I completed the RF&P hidden staging in the garage.  It's one of those things I did not have to do right of way and really did not want to do it in the cold weather, like I did with helix.  The weather was great today and opened the garage door and went to town.  The staging shelf is right beside the helix and uses the same hole in the wall.
With the 90* crossing in the wall, it makes the helix entrance and the hidden easy to co-exsist.

A piece of real rail makes a great weight.  The track to right goes to the helix.
The base of the staging is clamped, waiting for the wood glue to dry.

The track is positioned and the track base is clamped now.  MDF board is easy to work with.

Overview of the work.

Track is laid and ready for a test run.

Typical train in staging: one engine, 5 cars and a caboose.
RF&P GP40 #124 is ready for it's entrance.

Sunday, February 23, 2014

Eye in the Sky

As you know I recently installed a helix in my garage.  I want somehow to watch it as the train made progress.  After a little research, I decided to get a security camera from Harbor Freight Tools.  This camera easily plugs into the video section of the TV I have in my office.  The cord is plenty longer and installation only took about 45 minutes.  I spent about $30 on it (using a 20% off coupon).  It does it's purpose and I am very thrilled so far.
Hardest part of the installation was installing the camera on the wall.


The helix in the garage with the camera watching overhead.
I watch DVD's occasionally on the this TV.

Closeup of the view.  I need to put the helix in a little better view of the camera.

VC #5:  She is a Kato GP35.  I recently put on a non-dynamic brake cover and covered the middle radiator fan.  Some kind of rebuild.  I was thinking a GP35R?

Friday, January 24, 2014

Helix operational video

As promised, a video of the helix in operation.  I now have to get cracking on the lower level track.  I'll update with a post by Sunday.


Wednesday, January 22, 2014

Helix overload... But it's done!

Well it's complete!  Took me a few days but the helix is complete and runs well!  I hope it runs well throughout it's whole lifetime.  Knock on wood!  It was not the toughest thing I've done in model railroading just time consuming.  You cannot take any shortcuts because they will come back to haunt you.  Somethings to consider when building one:
  • A kit: the Ashlin Designs helix kit was a time saver and went together well.
  • Space: the helix is on a 5' high platform taking up a 6' by 7' space.  I did put shelves under it so I could store stuff. I can forget parking a car in the garage.  We never did.
  • Track: 15 pieces of flex track in the helix from level to level.  I used Atlas code 100.
  • Lumber: about $100 worth of lumber.  I did use MDF board for the platform
  • Time
 The next step is laying track on the lower level.  I got the day off tomorrow.  Hope to put a dent into it.

This is my flat lower level loop.  The helix lower level ends about 2 o'clock and has to run all the way to here.  The sliding doors are kept closed since it's about 45 in the garage.

Overall view from the garage steps.  Alot of work for 10 inches of drop! 

A view of the track doors to the layout.  Need some touch up paint and to level the lower door slide.


These finishing washers are perfect for holding track in staging areas.  I used them exclusively on the helix.

Access hole.  Standing on a stool I can access the helix for maintenance/cleaning.  I also can easily open the track doors.  They will stay closed when not using the helix.


Sunday, January 19, 2014

Helix platform construction Day One

I got started on the helix platform in the garage today.  It's a job in itself because the top of the platform is over 5 feet off the ground.  I had to build a decent frame for it.  They were not kidding when they say helix are a space hog.  This thing is about 7' by 6'.  A lot bigger than I wanted in the garage.  Guess it is too late to go back?  With the day off tomorrow, I hope to complete it.  I went to the Home Depot late last night for some lumber but had to return this afternoon for more lumber and screws.  I believe I might have to return again.  I'm using 2X3's for the frame and MDF 3/4" board for the top.  I will keep the middle open to observe/clean the helix.  Shelves will be under the helix size since I lost a ton of space in the garage.

The space I'll be working with.  The door leads to the layout now.

My office has some work done it too.  My work desk will be replaced with a smaller one.

Some beginnings of the framework.

Cameron helped me out a lot today.  Looks like I'm building a loft in the garage!

As far as I got tonight.  Should be able to finish tomorrow, I hope.