Welcome!

This site is dedicated to my model railroad, the HO scale Virginia Midland Railroad. This layout comprises a 12X9 room with two levels. The upper level is complete and the lower level scenery has just begun.

I do a handful of train shows in the Virginia/Maryland region with Makin Tracks.
I also can help you find that freight car/locomotive or other hard to find item.

Email: virginiamidlandshops@gmail.com
You tube videos: http://www.youtube.com/user/Virginiamidlandrr/
Showing posts with label tomar. Show all posts

Wednesday, August 13, 2014

Tools of the trade and other things

Well, finally finished up the upper level track change.  The trackage is done, did all the wiring and complete the signals.  This new track makes so much sense.  No pics of that because wiring is necessary but boring.  Tonight I wanted to cover a couple of tools that make my work on the layout so much easier.

The first one is my Klein Tools electrical nippers.  I have had these forever and believe at one time they were my dad's back when I was building a crappy layout in the basement in my late teens.  These do it all.  Pull nails, strip wire, cut Kadee trip pins, cut wire, cut wood, pull staples are a few.  I would be lost without them.  The bent shape them makes perfect for pulling nails out of the road bed.  The thing is, I have never sharpened them once in all these years.

The best tool I own.
The next item is something I made and is very handy.  I even have a drawer for them.  I call them my jumpers.  They are like jumper cables.  I use these to test track before it's wired and test my toggle switches before I solder them to my signals.  I also use a MRC DC power pack to power all my signals and switches.  With these jumpers, I test out signals, LED's (with resistors) and the like.   I use the power pack on the layout because it keeps more power on my NCE system and doesn't require me to have a booster.  I'm only running 2 amps.
Wire and alligator clips soldered together.
Here are the two signals down on the east end of the layout.  They are a simple 3 light signal from Tomar.  They have been hooked up to toggles and are ready to go.   
The electrical boxes in front of the Carolina trailer are temporary.  Been working hard in this area. 
Lastly, is a Tangent hopper that was painted into a Michigan Interstate hopper.  The MCIS is the railroad of Greg McComas and I do some of his custom work.  You can find the link to his blog on the right side of my blog.
 MCIS #7282 has shown up on the Midland with grain for Mid-Atlantic Feeds.

Friday, August 23, 2013

A video through the new scenery


Also the first annual Mid Atlantic Rail Prototype Modelers Meet is exactly 3 weeks away.  It takes place in Stafford, VA and is worth the trip!  I am helping to organize the show and it will be a treat with the door prizes itself and the great clinics we have lined up.  Also bring a model to share!
Register today at: www.marpm.org

Thursday, August 22, 2013

Scenery update day #2

Well the scenery is 95% complete in this area and was not as hard as I had envisioned.  Here are a few things I have to finish up:
-weather the overpass
-ballast some areas where the scenery meets the ballast
- vacuum the area in a day of two, gives the glue time to fully dry

Things that I liked about doing this large scenery: (You must try these!)
- Heki Wildgrass Fiber-  this stuff is awesome!  Got the tip from Lance Mindheim and order some a couple of weeks ago.  You tear it and glue it where you want.  Sorta like static grass,  Good for clumps of weeds and grass.

-Super Trees:  A must for good background trees.  Mine have been sitting in the garage painted ready to go all
  summer.  I added the different leave colors to them.  It was so easy, my 7 year old was making nice trees.  

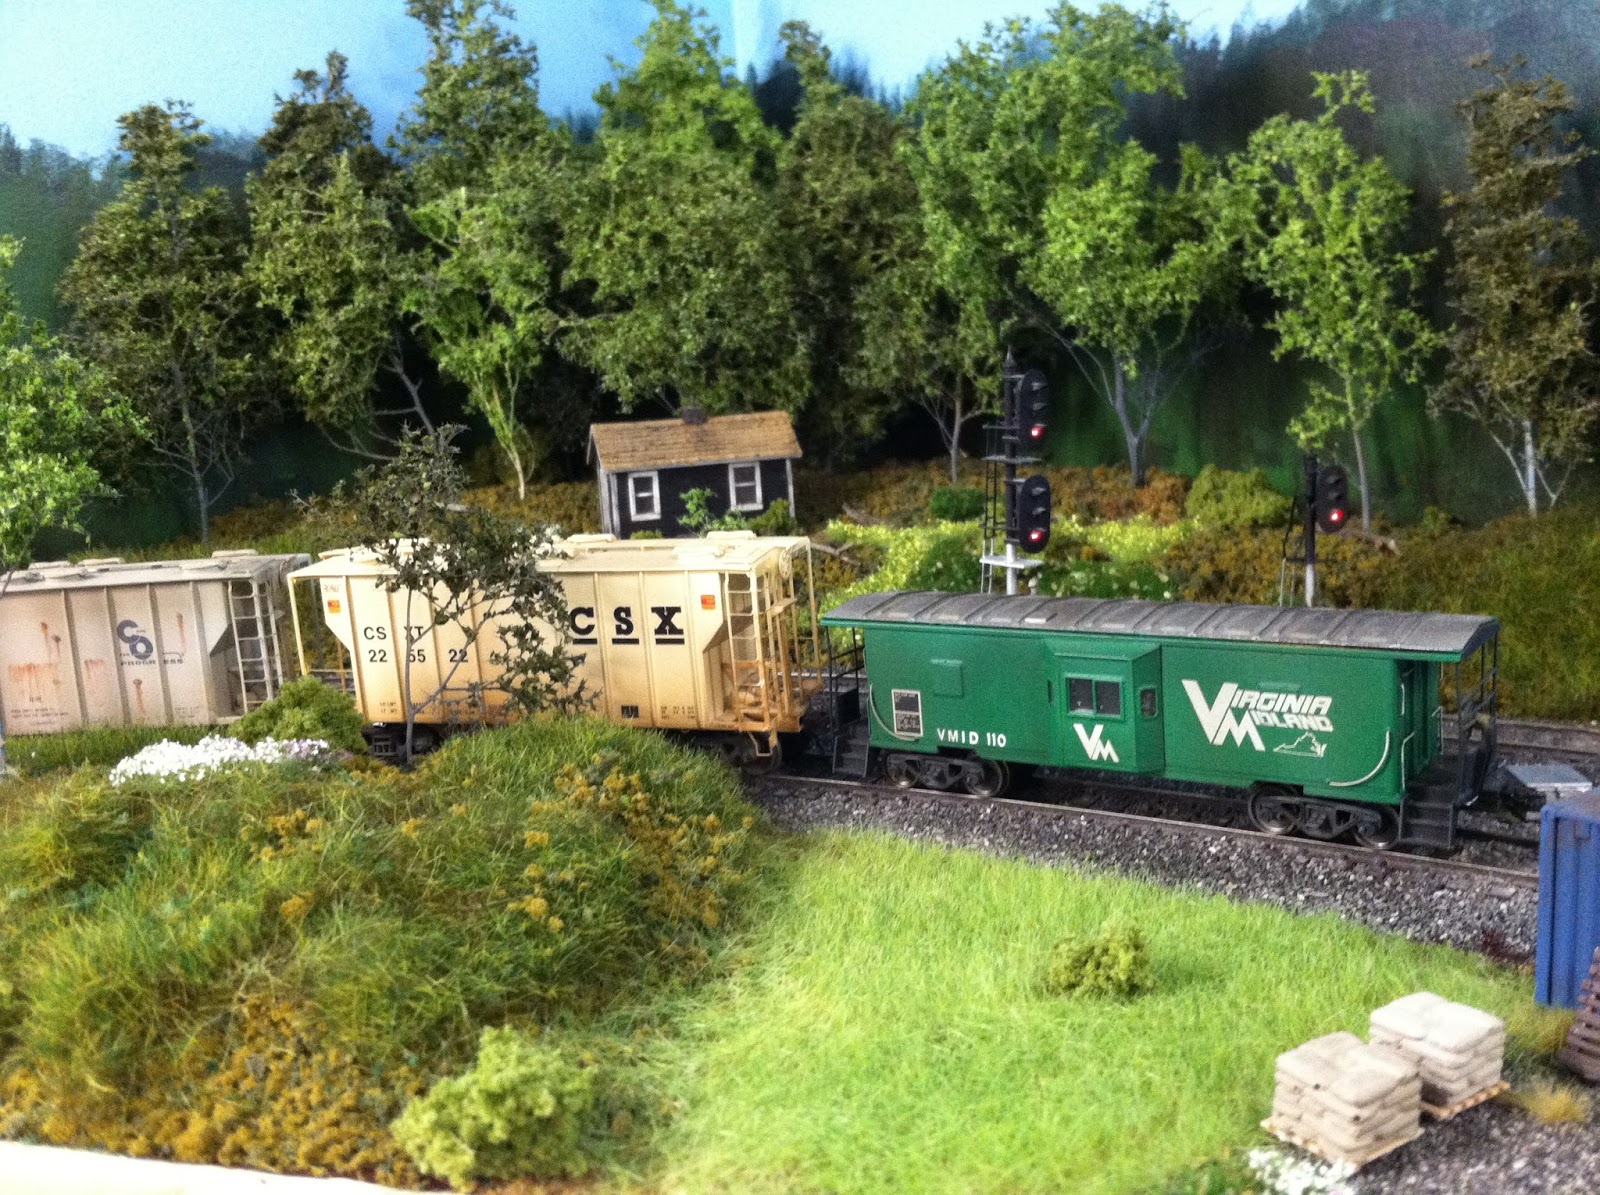
You can see the Heki wildgrass on this little hill.  The shack was a late minute add last night about midnight!

Gotta work on this siding a little.  Don't know if I'm happy with the blue hole for the overpass.
A different angle.  Got to get the masking tape up off the tracks.

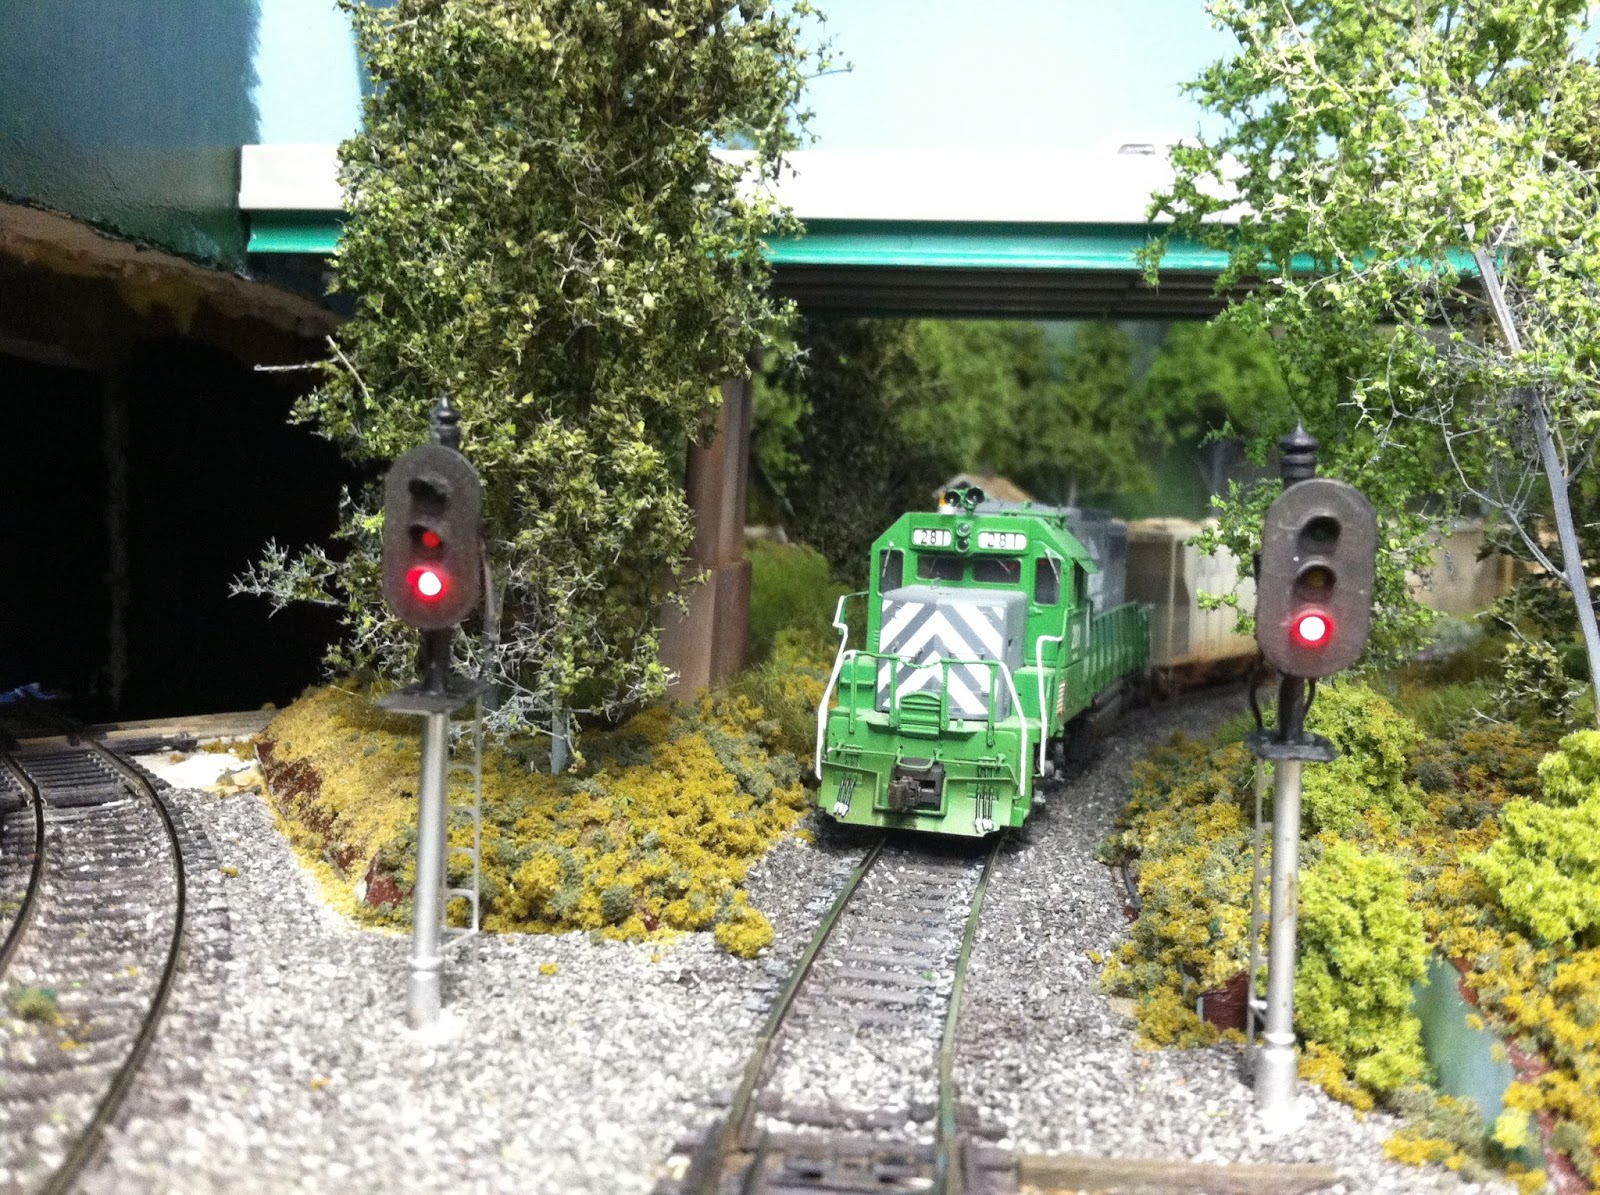
VM #281 makes the first run through the scene.

A closer view of under the overpass.
Decide to use some static grass in a small field near the entrance to Battlefield Yard.  Thought this picture was the best I took!  No unfinished scenery in it!
My afternoon/evening task:  Cleaning up my scenery mess!

Monday, July 22, 2013

West end signals are installed and working/ other projects

Finished up the last signals on the layout over the weekend.  All my signals are controlled by toggle switches on the fascia.  Since op session only consist of 2 people, I'm the one who will throw them.  I installed 2 Tomar regular 3 light signals and one BMLA searchlight signal.  The 2 Tomar signals are going into Battlefield Yard and the other is right across the track going west to Orange (hidden staging).  The searchlight signal is different and controls trains coming off of the Virginia Central branch line.

The other pictures are other things I'm working on this week:

The two Tomar signals.  There will be another bridge between the signals and the other overpass.  

These BMLA signals are very detailed.  Definitely different on the layout.

Got another Alco, this time a RS1.  She will work for the F&NN and will be patched.  Really liked the black and yellow!  It has a Tsunami in it and was the most challenging one I have ever had the pleasure to put in.

A high and wide load.  Gotta have a interesting load during some op sessions.  Finally got the brass wire I need for tie downs.

A side dump for a MOW train.  Gotta get some VMID lettering on it.

No this is not HO but an On30 Forney getting a new tender.  One more good days work and she will be complete.  Maybe 2 with the paint!

Sunday, January 27, 2013

Soldering and signal frustration

Well after about a month or more of doing other things, I decided to install more signals on the layout.  This did not seem to be a long task but a tedious one.  My signals at the crossing have been put in for a few years now.  I installed them with on-off-on toggle switches.  I did the same with these.  These toggle switches have 6 connectors in the back to connect the correct wires.  I did myself a favor and ran the 2 main power wires all the way around the layout when I first thought about the project.  So that was done.  Those connect in the middle connectors on the switch.  Then the LEDs are on one (with the correct resistor) and the common is on the other.  Simple as that, right!  Solder them in and your done right!  Wrong! If the common and LED were switched connections, they would not work.  I found this out the hard way.  Soldering them in: not working, clip them in: working.  I went through toggle switches.  This was the obvious choice.  Went out and got some heavy duty ones like the other switches.  Then I found out about the common and LED thing.  Talk about frustrating.  I spent most of the day trying to get these to work!  The positive:  I did go several hours of soldering work without burning myself.

Soldering is something that if you are going to be in this hobby, you are going to have to learn.  It used to be painstaking but I found something that makes it so easy.  Tinning flux by Oatey is sold in Home Depot and other hardware stores.  Before this, my soldering was bad but this makes it so easy.  Put some on the end of the wire or connector and the solder bonds instantly.  No preheating!  I use and old soldering iron that has a little indention that holds my melted solder.  Works for me!  I use Micromark's Soldering Iron Stand instead of the little one that come with the iron. I use the same method on decoders and those expensive Tsunami decoders.

On with the progress:
My working (frustration) area above my desk.  The signals would control exiting of Battlefield yard.  Gator clips are great for testing connections.  Lots of tedious soldering work.
This is the larger signal that controls the VM out of Battlefield Yard.
Red signals coming out of the yard.  The one on the right is the RF&P connection that leads to hidden staging.  Need to lean it to the right some

Green Signal on the VM and an approach on the RF&P connector.  I wanted to wire the toggle to show a red over green or visa versa and it would not let me do that.  I'm sure you could but I could not figure it out.  I was happy they are lit!
Toggles are set and the fascia did not fit back even but that might be for another day!