Welcome!

This site is dedicated to my model railroad, the HO scale Virginia Midland Railroad. This layout comprises a 12X9 room with two levels. The upper level is complete and the lower level scenery has just begun.

I do a handful of train shows in the Virginia/Maryland region with Makin Tracks.
I also can help you find that freight car/locomotive or other hard to find item.

Email: virginiamidlandshops@gmail.com
You tube videos: http://www.youtube.com/user/Virginiamidlandrr/
Showing posts with label hidden staging. Show all posts

Monday, July 31, 2017

And for something different to benefit the layout

As you know, I do a few videos on You Tube and I also have several channels I check out.  Not only do I look for what's on the layout, but what's off or around the layout.  I was watching a video just last week and noticed shelved drawers under the layout.  These would have to be for freight car storage and I was correct.  Eric Miller of SPSF fame SPSF Railway  (make sure you check out his website!) has a very nice layout.  I contacted him and he send me some pictures of the shelving units.

Here is a picture of Eric's drawers (Eric Miller photo)
  So I began to ponder and figure out how I can build one of these.  I only need one for my small layout.  It was nice to have a bunch of excess wood in my shed I could build the drawers with.  Had to go to my local Home Depot to get the 3/4" cabinet wood sides and the drawer hardware.
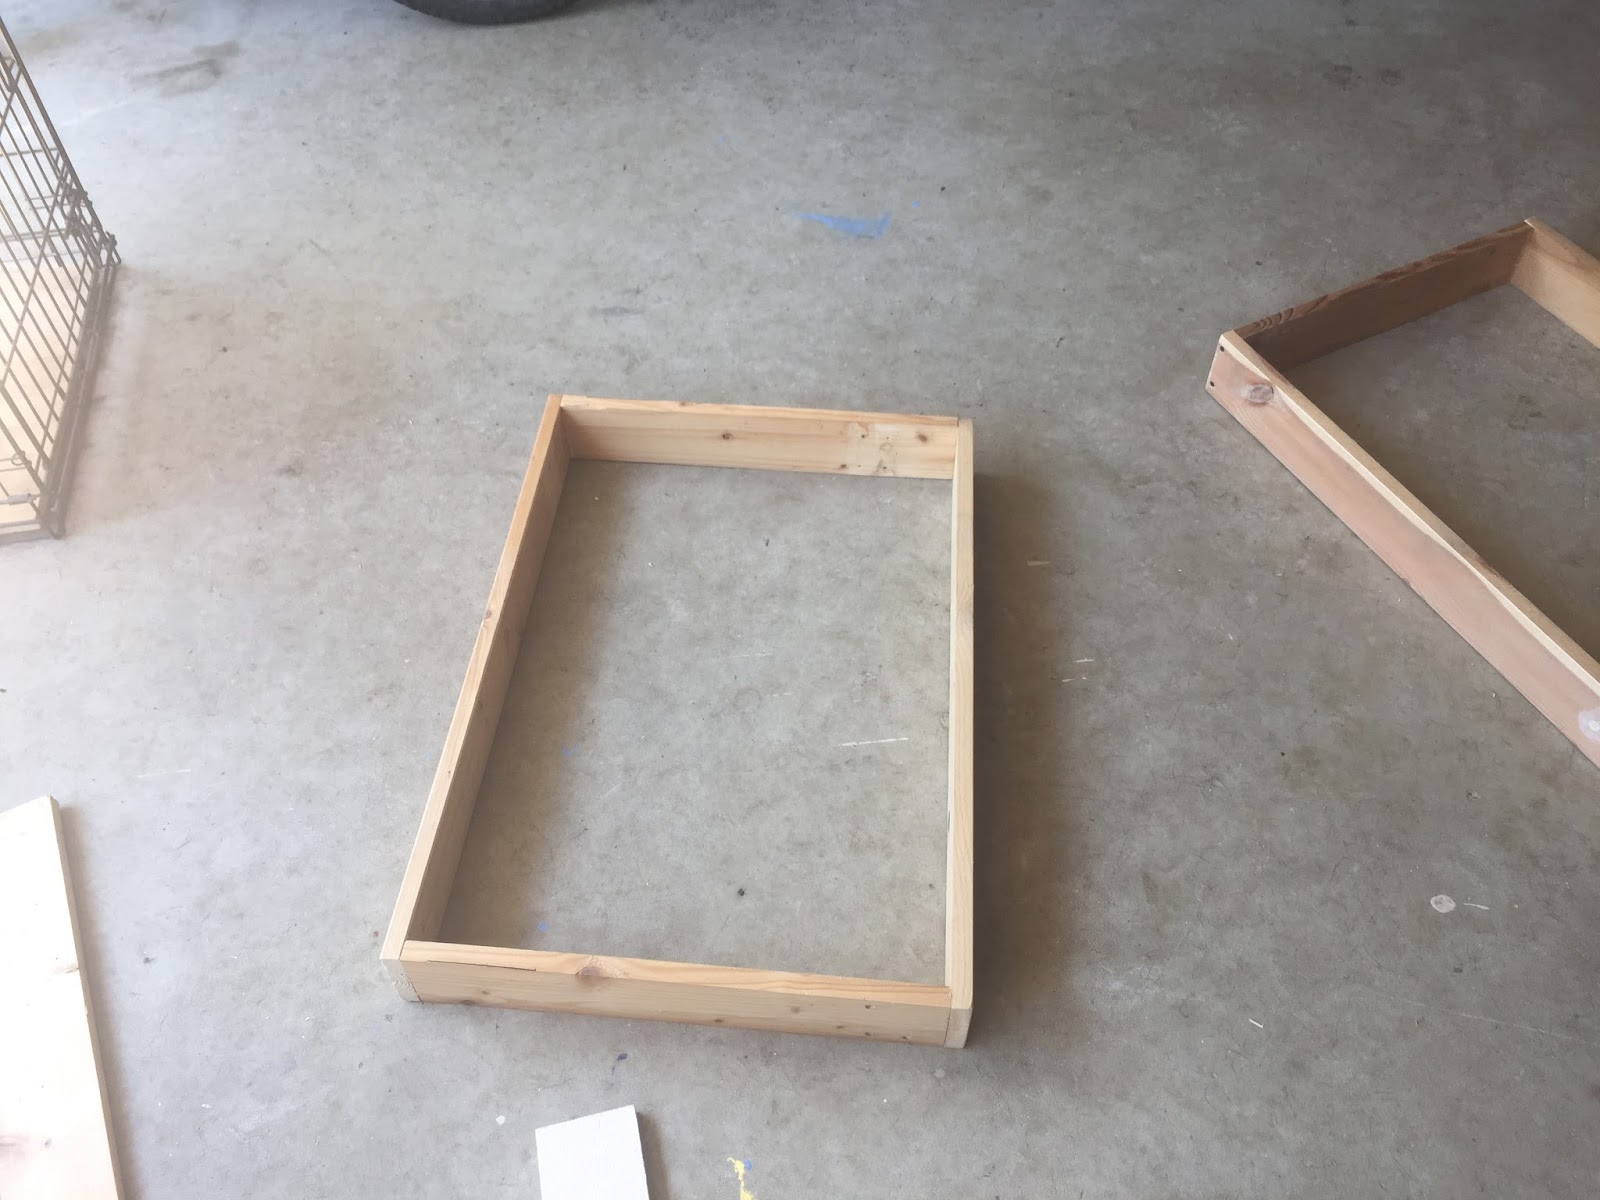
The first of many drawers

Lining up the sliding parts and leaving enough space between was tough but it worked out.

Wow!  I have some major space to put cars in these seven drawers.  Now to figure out what to use/how to divide up the drawers. 

My stopping point today.  Tomorrow I hope to complete this project and it will require a trip back to Home Depot!
I also finally finished my track laying of staging track by my helix last week.  I have 2 good sized tracks to hold entire trains to run east across the layout.
Here's the end of the 2 staging tracks.  The one starts to run back up the helix.  My helix is made for 2 tracks.

This is what I added to complete it.

The mainline and the Parker passing siding is on the left and the 2 staging tracks are in the middle of the picture.  Still need to power the turnout.

Wednesday, April 23, 2014

Completion of my hidden staging

Had to the chance to get some layout work done this week, since it is my spring break.  This afternoon, I completed the RF&P hidden staging in the garage.  It's one of those things I did not have to do right of way and really did not want to do it in the cold weather, like I did with helix.  The weather was great today and opened the garage door and went to town.  The staging shelf is right beside the helix and uses the same hole in the wall.
With the 90* crossing in the wall, it makes the helix entrance and the hidden easy to co-exsist.

A piece of real rail makes a great weight.  The track to right goes to the helix.
The base of the staging is clamped, waiting for the wood glue to dry.

The track is positioned and the track base is clamped now.  MDF board is easy to work with.

Overview of the work.

Track is laid and ready for a test run.

Typical train in staging: one engine, 5 cars and a caboose.
RF&P GP40 #124 is ready for it's entrance.

Wednesday, January 22, 2014

Helix overload... But it's done!

Well it's complete!  Took me a few days but the helix is complete and runs well!  I hope it runs well throughout it's whole lifetime.  Knock on wood!  It was not the toughest thing I've done in model railroading just time consuming.  You cannot take any shortcuts because they will come back to haunt you.  Somethings to consider when building one:
  • A kit: the Ashlin Designs helix kit was a time saver and went together well.
  • Space: the helix is on a 5' high platform taking up a 6' by 7' space.  I did put shelves under it so I could store stuff. I can forget parking a car in the garage.  We never did.
  • Track: 15 pieces of flex track in the helix from level to level.  I used Atlas code 100.
  • Lumber: about $100 worth of lumber.  I did use MDF board for the platform
  • Time
 The next step is laying track on the lower level.  I got the day off tomorrow.  Hope to put a dent into it.

This is my flat lower level loop.  The helix lower level ends about 2 o'clock and has to run all the way to here.  The sliding doors are kept closed since it's about 45 in the garage.

Overall view from the garage steps.  Alot of work for 10 inches of drop! 

A view of the track doors to the layout.  Need some touch up paint and to level the lower door slide.


These finishing washers are perfect for holding track in staging areas.  I used them exclusively on the helix.

Access hole.  Standing on a stool I can access the helix for maintenance/cleaning.  I also can easily open the track doors.  They will stay closed when not using the helix.


Sunday, November 24, 2013

Another Video: Part 3 of hidden staging

Got a new video done today and wanted you to see my hidden staging.  Stay tuned to the end for some train action.