Read an article the other day on the time it takes to build a layout. I cannot remember just where I read it but it was probably on a blog somewhere. It talked about the time it takes to build a layout. It had a lot of great points but I wanted to put my touch on it so here it is! Now of course we know that layouts come in all shapes and sizes. A basement empire is going to take longer than say my small room sized layout. I have broken down the different stages into percents of time spent on each. So lets go through a build and see where most of your time is spent. Let's start from the beginning:
Planning: Most of us are always planning and if you are like me, your even planning after you think all your track work is done. Starting on a new layout, most know what railroad they want to model and finding that space is always the hardest part. Once you find that room or basement, the planning is in full gear. The internet provides more info on specifics than we could ever imagine.
10%
Benchwork: This is usually a quick weekend or two. Once you know your space and what you want to do, it's time to hit your Home Depot or Lowe's. Lumber is not cheap these days but is a necessary thing to support our empire. You will be making several trips here over the years so get used to it. I love to go to my local Home Depot!
10%
Track work and Electrical: This is the most important step in the whole process. Good track work and electrical wiring will save you lots of time in the end. Try to only wire the track and maybe signals. Electrical turnouts can be hand thrown so this could save you time especially if you have a bunch of turnouts. Labeling/color coding your wires will definitely help if you have problems later on.
15%
This is the point where a lot of layouts stop. Because of the simple fact that you can run your trains and that was most of what we wanted to accomplish. Scenery and build structures are difficult and most have never attempted them. Maybe the structures. We tend to keep adding locos and freight cars instead of the obvious. So the first three categories are complete and we are up to only 35%!
Structures: These are the life blood of our railroads yet a lot of time can be spent on these. A lot of modelers even have someone else build them for them because so much time can be spent on them. Mike Confalone is one of these and we see how great his railroad is. Walther's kits can save time but your layout should not look like the Walther's catalog. I'm even guilty to a certain degree. I think 80% of us modelers have the Walther's grain elevator. I plan on one day going back and changing that elevator a bit. It's a good stand in now. Slight changes to these types of kits or scratch building is a great way to make your railroad look unique.
25%
Scenery: This is the one everyone likes to avoid. We are all scared we will mess it up. That's part of life! When I first started doing scenery, I thought of it as making a pizza. Start at the dough (base) add glue (sauce) and add toppings! I've noticed my scenery gets better the more I do it. Scenery Express items are recommended over Woodland Scenics. I have used both, but SE just looks better!
30%
Weathering: This category is a lot like scenery, people are terrified of it. We don't want to mess up a $30 freight car or a $200 locomotive. This is a must for any realistic layout. For me, nothing is worse than seeing a beautiful layout complete with shiny freight cars and locomotives Even a quick shot of Dullcote is better than nothing. Don't forget to weather the structures too!
10%
In closing, we can see that most of your time will be taken up on scenery and building the structures. I'm at that point now on my layout. I have several structures to build on my layout including a new grain elevator (Walthers no less!), a depot, country store and farmhouse. I could have been done on my layout a couple of years ago but I decided to add my lower level. So this whole process started over. Hope I helped you put your time into perspective and remember every minute counts and I didn't even count distractions! That's another topic for another day! Happy Modeling!
Sunday, February 14, 2016

Friday, February 12, 2016
Orange decisions
The town of Orange on the end of the lower level is a tough nut to crack. The area is in a T shape and that is not ideal for a whole lot. I believe I have the track plan down and have finally started to figure out what I want to do with the left side. The town has a tie loading spur, and the two tracks on the left that was going to be the interchange tracks with Norfolk Southern. Instead of the interchange I have decided to add another industry to the tracks. I decided to go with a small grain elevator. Here is the small elevator. This will be a perfect add to the rural town of Orange. The interchange will then be moved to a hinged cassette or a removable cassette.
 |
| Here is the town of Orange. The trains come from the center part of completed part. |
 |
| On the right were the interchange tracks with this mocked up scene, now they will become a storage and grain elevator track |
 |
| Now ready for a new industry. |
 |
| The other side with have the tie loading spur with the town in the back ground. The background building here will be be there. The straight track will be the interchange track with some type of cassette for the rest of the track. |
 |
| VMID #299 GP40 leads a train into Orange. |
Thursday, February 11, 2016
TBT: February 11th 2016
Haven't done this in a while so here goes:
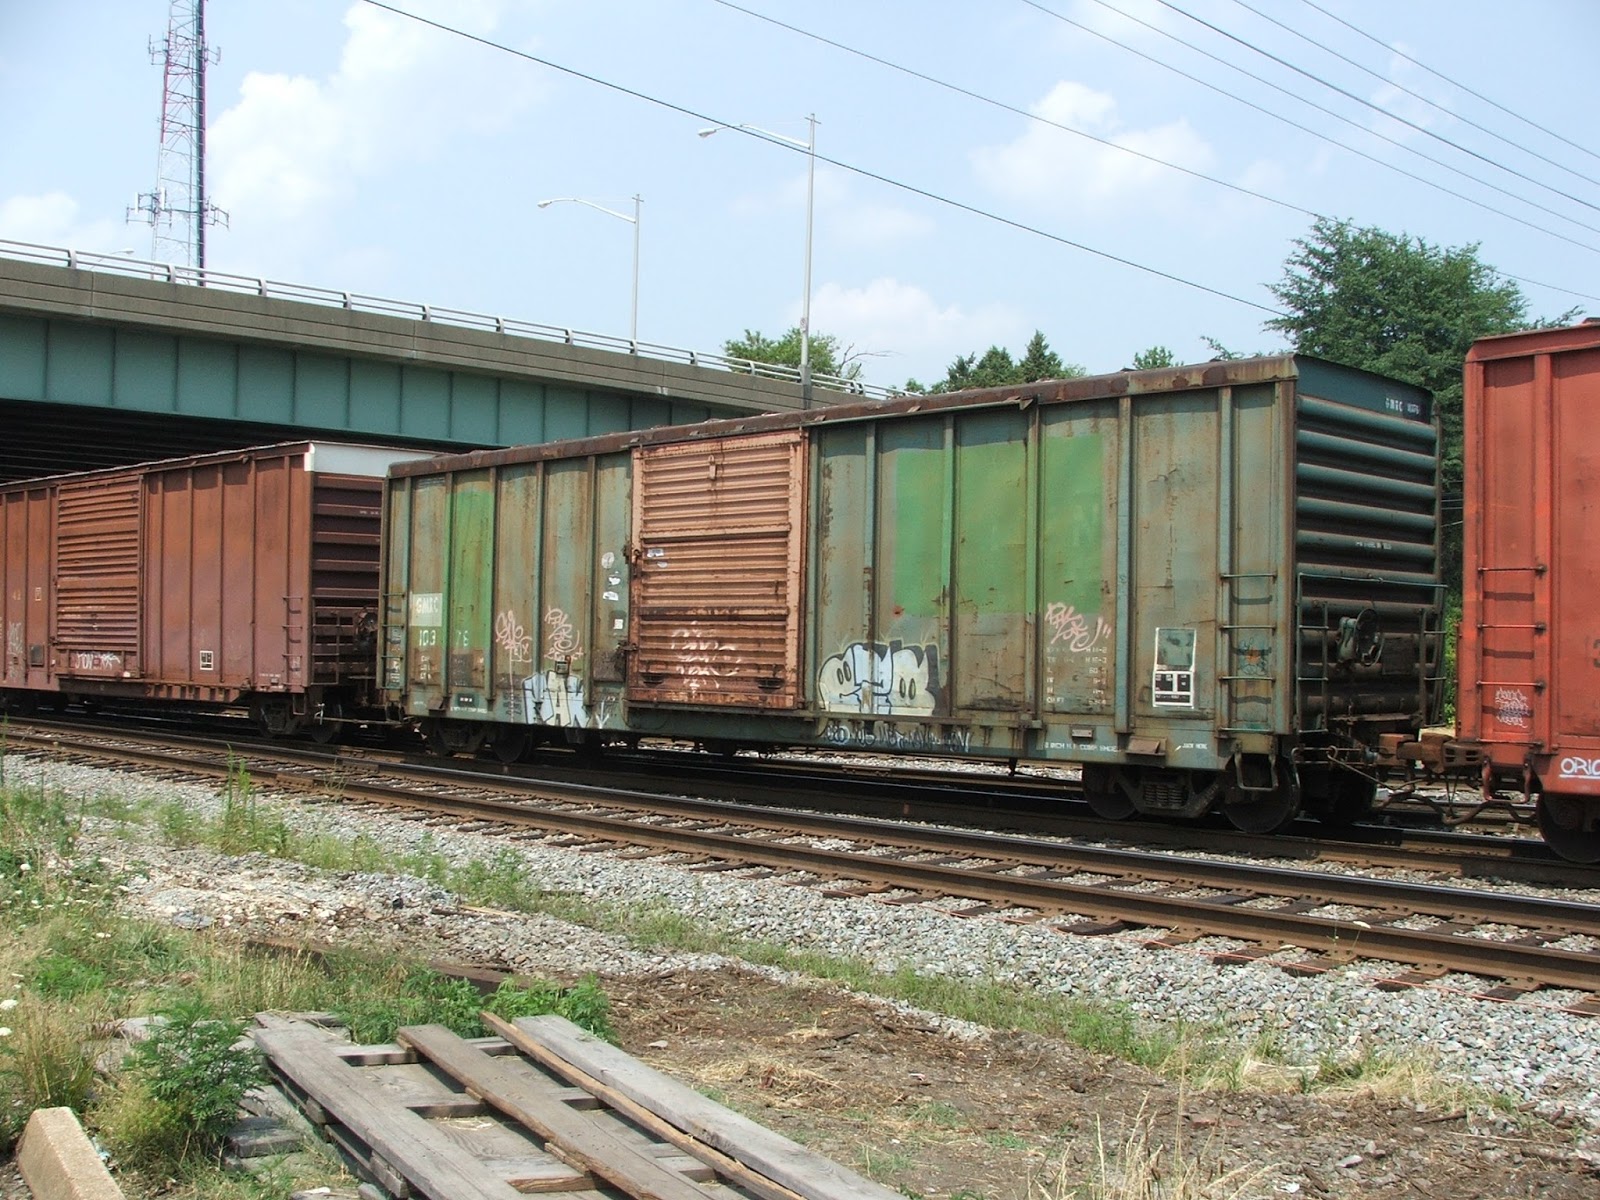
One of my favorite spots to railfan back in the day was down in Richmond, VA at the south end of Acca yard. It was a great spot and very busy. I loved the closeness to the action and the rare cars I would see. These are from July 2007.


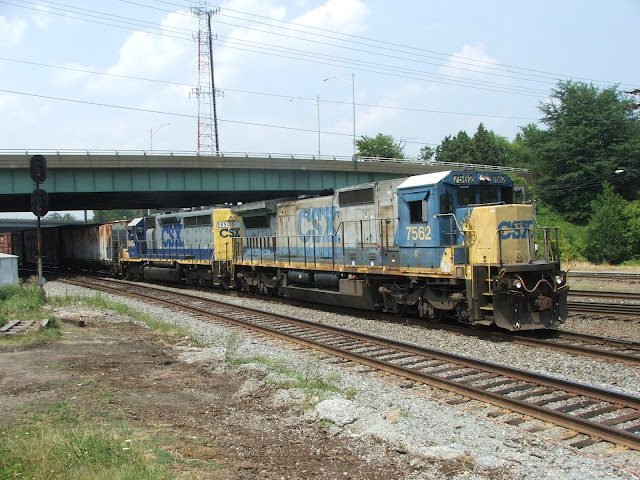


One of my favorite spots to railfan back in the day was down in Richmond, VA at the south end of Acca yard. It was a great spot and very busy. I loved the closeness to the action and the rare cars I would see. These are from July 2007.




Tuesday, February 2, 2016
4th and final part of the layout tour video
Here is the last part of the Virginia Midland layout tour. In this 4th part, we take a look at the Mine run Branch and the town of Orange. Make sure you subscribe to stay up-to-date with new videos coming out every couple of weeks.
Monday, February 1, 2016
Getting back in the saddle with modeling
This past week has been a blessing in disguise. We had around 2 feet of snow last weekend which gave me even more time to rest up before going back to work this past Friday. I also spent lots of time in the layout room catching up on things and starting new projects. I still have to take it easy and of course I didn't have to shovel all that damn snow. My wife and my oldest son took care of that. My neighbor even plowed out our driveway. With all that going on, I retreated to the the train room and got back into my comfort zone.
Here are some of the things I started last week:
Here are some of the things I started last week:
 |
| Valiances: These have been done since Christmas and just about complete. |
 |
| This area is done. |
 |
| Middle area |
 |
| Got some weathering done for a good friend of mine. |
 |
| Really liked the look of this hopper. Made me get 2 more of the 5161's out. |
 |
| Here's another project coming up. My layout is broken down into blocks controlled by the Atlas switches in green on the right. Plan on adding toggles on the switch layout and opening up that area on the lower level. |
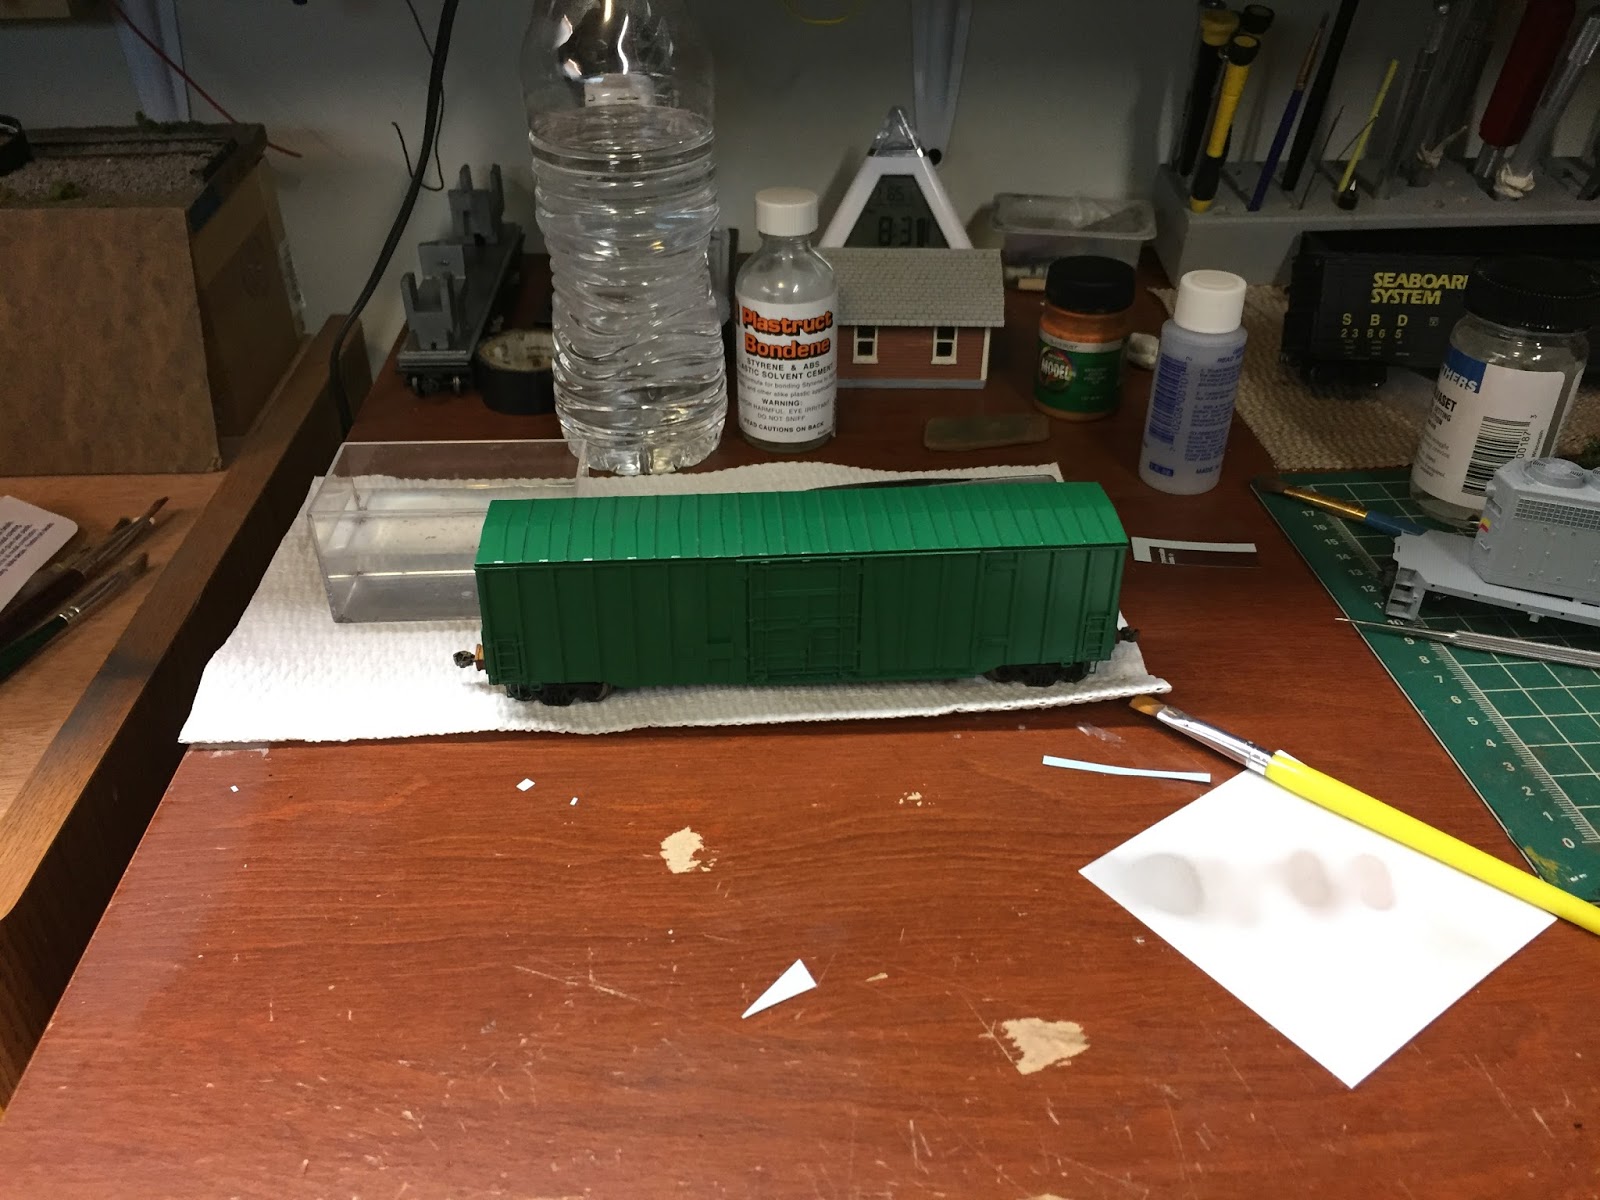 |
| New boxcar for the VMID. It's a Ex CP paper boxcar made by Sylvan scale. The resin kit was completely built and only needed paint! Looks good in VMID green. |
 |
| Another forgotten project. Don't know why I stopped, Oh wait, yellow still. From there she's all down hill. Yes, the gray paint is way light by I will darken it up with weathering. Kato shell. |
Saturday, January 16, 2016
And to a screeching halt...
The past two weeks have been two to forget. On the night of January 4th, I had to be rushed the ER because of severe flu-like symptoms. Not 24 hours later, I was back in the ER with major chest pains. The verdict was Myocarditis. Don't know where this came from and the doctors could not figure it out. It required a 5 day stay at the hospital. A very tough ordeal that really took a lot out of me. Getting up to go to the bathroom was an exhausting task. I've been recovering this week and spent most of the week down with my mom and step dad. That did wonders on getting my health back. Being 41, I would not think that my heart would be effected by something like this, but you never know these days. Twenty percent of people who are affected by this condition die! Very scary. So thanks for all who texted, called or sent a message through Facebook. I do have another week off from work for recovery and I plan on definitely spending a lot time in the layout room. It's messy from the upper valance work but that is about done except for a few items. A little cleaning up and it will be good to go! The main thing it provides when you walk into the layout room is the professional look. It really improves the look immensely.
Saturday, January 2, 2016
The new year is off to a good start!
Being off the last 2 weeks you would think I would have time for lots of model railroading right? Not so much. Been busy on the homestead with shopping, cooking and the holidays. Modeling time has taken a back seat and really I haven't been feeling the MR vibe. I've done a few things, but nothing major. The last two days have been productive and I'm probably realizing I have to go to work on Monday! I also have been rolling out of the bed at 8:00 or later too so that doesn't help much. So in the last two days, I've installed a Tortoise on the lower level on the Mine Run Branch, removed a Lok sound decoder from a loco and installed a Tsunami, and for some reason started to install a valiance over the layout. I've wanted to do this for a while now and just got started yesterday. It will greatly improve the look of the layout room, like the floor has. It's a two person job for a bit but my wife is gone shopping so the main 7 foot section will have to wait until this afternoon.
 |
| First section is done. The blue bags are for debris from drilling holes. It will hopefully give the layout a more professional look. Do I do anything professional? |
 |
| The next section is the longest part. It will hide the light fixture and the all the wiring. |
 |
| Last section to be installed. Not idea what to do for the yard since it has no shelving above it. |
 |
| GP39-2 #274 is back in service. This is one of my newest engines that for some reason I put Lok Sound in. Lok Sound sounds great but but adding a capacitor like a (Keep Alive) is not possible. Even tried to add it but still the sound was in and out. I believe Lok Sound has their own KA, but I believe it's in the $50 range. |
Subscribe to:
Posts (Atom)