Welcome!

This site is dedicated to my model railroad, the HO scale Virginia Midland Railroad. This layout comprises a 12X9 room with two levels. The upper level is complete and the lower level scenery has just begun.

I do a handful of train shows in the Virginia/Maryland region with Makin Tracks.
I also can help you find that freight car/locomotive or other hard to find item.

Email: virginiamidlandshops@gmail.com
You tube videos: http://www.youtube.com/user/Virginiamidlandrr/

Friday, December 30, 2011

The On30 Layout

Well in my posts, I have neglected to post anything about the On30 layout.   I was bit by the narrow gauge bug about 2 plus years ago.  Having in a former narrow gauge railroad, the PF&P (Piedmont Fredericksburg & Potomac) abandoned grade in the county does help!  I have tried to find compromise with the On30 layout.  I tried modules, 2 are complete, a permanent layout right beside the HO layout, and finally a lower level shadow box switching layout.

Well that shadow box is complete and the wiring and track are finished.   Still have a lot to do.  So you think you cannot get anything model railroading complete?  Try having 2 layouts in 2 different scales!  I think I easily have about 2 dozen different projects to be done on EACH layout!

Here are some pics:

This is the one end of the layout.  The train starts out here with 2-3 cars and switches the 3 industries.


From the starting point, we encounter a run-around track.  This is a must because all 3 spurs are forward facing spurs and require the run-around track.  The mill is one of the industries. 
Here is the mill spur and the other end of the run-around trackage.  The boxcar is a Bachmann frame with wood strips added all the way around.  A good but time consuming  project!  RVR stands for Rapidan River railroad.
My creek that will separate the layout.  Have not decided on how to scenic this yet.  The bridge will be scratch built.  Might use stone sides for a canal since this was common in the area.
My main work horse on the layout, the Bachmann climax with sound.  Perfect for this size layout.  I will also use Davenports and a BVM boxcab, with sound.
The final two industries are a pulpwood loading spur and a team track.  

Comments and suggestions are welcome!

Monday, December 5, 2011

Switching lists

Switching lists can be a whole lotta of work.  Lots of people use a car routing system with cards for every car.  I think those car cards are too much work.  I have even seen different color paper markers on top of freight cars.  This makes having an operating session on my small layout too much work.  I have no car cards and no filing system.  My conductor uses a switching list, clipboard, pencil and a uncoupler.  The switching list is made up and all I have to do is print one from my computer and we are ready to go.  I simply write the cars at each industry and write what cars are going where.  Makes it easy for me.  I believe I got this from Lance Mindheim's website.  Being a teacher, I want to stay away from paperwork as much as possible.
Example of an older Virginia Midland switch list.  Remember, I have 2 railroads on my layout.  That means 2 separate switch lists.  The VC switch list is a lot smaller and takes half the time. 

Thursday, November 24, 2011

Progress continues on the branch line


Looking toward the completed layout.  The track on the right leads to the hidden staging.  The center turnout leads to the VC and starts the branch line.  The tracks on the left will be the VC switching lead and VC engine service track.
The hidden trackage into the garage.  The cars are on the sand facility lead.  /The facility will be hidden but will provide many carloads of sand and gravel.  The facility will have it's own switcher that will make an appearance on the layout.
The sand facility switcher.  It's an Atlas HH600 with added Tsunami sound. 
Further down the branch line, the only online customer is going to be a pulpwood dealer.  The unfinished track will lead to a run-around track.  The sand facility switcher will bring loads to the run-around for the VM.


Tuesday, November 22, 2011

Change of plans on the east end of the layout and the On30 layout.

Well did some bench work altering in the last week.  Against the wall where the hidden staging goes to the garage, I had a grade trackage that went down to the lower level.  This was part of the of the Virginia Central (VC) trackage.  the grade was very steep and  led at one time to a 3 track staging yard.  This did not work out because of the steep grade only short trains could make it up.  I eventually changed it by lowering the last part to put a sand loading facility and trackage. One backfire was I had to put in another grade in to switch the sand facility. I really liked it because I used the 2970 hoppers and they were small.   But I could only bring down 2 hoppers at a time to clear the switch and end of the track.
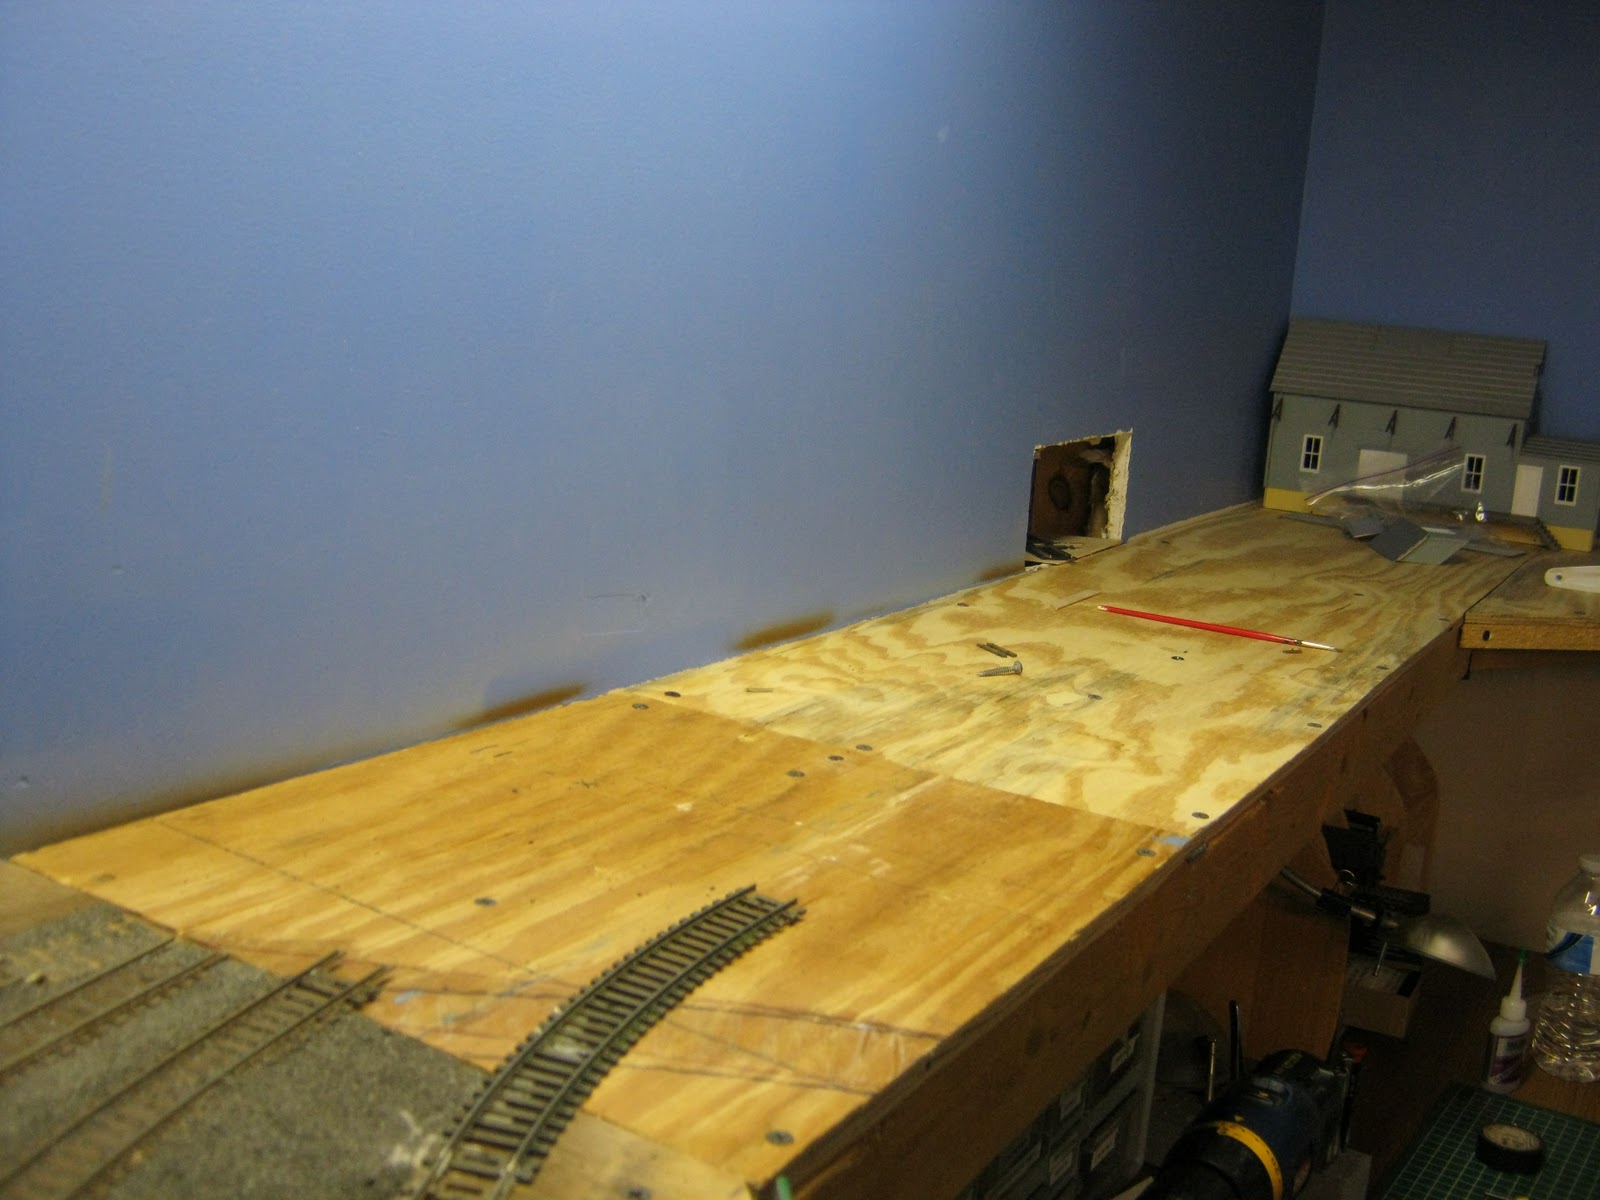
The view from the completed layout.   The hole goes to hidden trackage in the garage.  The new branch line will continue to the gray building (On30) and head to the right.  The original grade started here on the right side of the bench work.  Taking it out gave me more space against this wall.
The hole leads to different hidden staging in the garage.  The crossing gives me more options.  The track to the right was the staging for the On30 layout.  The left is the staging for the RF&P railroad. 

  Well let's change it all.  Above this side of the layout was a On30 layout completely wired and ready for scenery.  I did at one time have have a around-the-room HO layout complete with swing bridge near the door.  I took the swinging bridge out and that side became an On30 layout.  Well the On30 trackage was removed this weekend.  I will put the On30 below on the lower level (sand facility) and add a some to it.  It's almost like a shadow box, with lighting and at chair level.  It's about the same space as above.
   On the window side, where the On30 layout is probable become branch line with a pulpwood customer and the hidden trackage(from the On30 layout) will become a offline industry (probably the sand facility) The trackage to the hidden trackage will lead to the facility.  I obtained the 2 separate hidden stagings to the garage by putting a crossing in the wall.  Remember On30 runs on HO track.  
Notice how my work bench is below the bench work.  Looks as if my work bench is kinda neat today.   

Monday, November 7, 2011

Scenery definitely brings the layout to life

Been working on the dreaded back corner of the layout.  Since it's inception in 2004, my layout has had about a dozen of industries in this corner.  Engine facility, paper plant, grain elevator, etc are a few of them.  I finally used smaller industries and even added a small spur for a small engine facility or maybe some thing else?    Anyways, I finally settled and then slowly added scenery to spruce it up.

Klotz Distributors has a overgrown and junky spur.

Patriot Industries deals in pool chemicals thus has a fence around it's facility.

Looking down the Klotz spur.  Boxcars filled with all types of wood are unloaded here.

The Patriot spur still needs a little more weeds to make it just right.

Some tank cars have been spotted.  Still need to add gates and security barbed wire at the top of the fence.

Sunday, November 6, 2011

New 6 axle power on the Virginia Midland

VM #281 switching Mid-Atlantic Feeds

  
A closeup of VM #281 
Virginia Midland needed some 6 axle power for their increasing workload. Being on a branch line, most 6 axle power cannot be used. A SD20-3 was constructed from SD35. It does well for all the switching on the line. A SD20-3 is basically a SD20-2 like Chessie System and CSX have but it has 4 stacks instead of 2.

Decided to weather up a covered hopper also.  This patched hopper looks as if it was decaled, but right out of the box I covered up the reporting marks and data with tape.  Weathered it and then took the tape off.  An easy way to make a freight car look as if it got a new owner.


Wednesday, August 17, 2011

Detailing late RF&P GP40's and GP40-2's Part I

RF&P HO modelers have been "spoiled" by Atlas and Athearn in them releasing most of the diesels needed for a HO layout from the late 1960's to 1980's.  We have had Atlas do the GP40 and the GP40-2.  Athearn has done the GP35's and the SW1500's.   These locomotives, especially the Atlas GP40's and GP40-2's are great looking right out box.  The Atlas one run of GP40's included #122, #124 and a no number.  the no number unit is perfect to model the other numbers.  These are tough to find these days and I am currently don't have a  #127 on my roster.   Atlas found out that not putting a number on a loco usually doesn't sell well and have not done that in a while.  So how do we detail these?
First let's start on the cab roof.   Always check pics of the locomotive you are doing.  I have seen where the beacon and antenna are opposite.  This was on the GP40-2.  We need to add the firecracker antenna and the roof beacon.  The stock horn on the Atlas GP's is fine.  The firecracker antenna for the GP40's goes on the conductors side.  Looking straight down in the horn with the horn pointing straight, it's about at 8 o'clock.  The roof beacon is about 4 o'clock.  The part I use for the beacon is the Details West lollipop antenna.  It's a good stand in.
Notice the firecracker antenna and beacon location.

The GP's did not have sunshades but holes are drilled for them.  Take and insert the sunshades and with a hobby knive, cut it off at the base of the tab.  This fills the hole nicely.  Add the wind reflectors as per the prototype.
Notice the wind deflector added.

Changing numbers is easier than you think.  Trying to match that gray color is next to impossible.  As you can see from the above photos, I prefer the last RF&P scheme with circular herald.  Take some Microscale Microsol and brush it on the number.  Let it sit for about 10 minutes.  The number should lift right of.  You may need a stiffer brush to lightly scrub it off.  The long it sits, the easier it is.  The paint is intact and your free to decal a different number or the herald.  Don't forget to add the RF&P herald to the rear hood on the GP40's!  Speaking of the rear of the loco.  Let's move to that area.  The RF&P Geeps had rear horns and a exhaust port that are pretty easy to model.  Lets start with the exhaust port:
Exhaust port is located above the rear right number board.  This is one of my 1st methods of installing the rear facing horns.  A better option is explained below.
The exhaust port is build out of styrene.  I use Evergreen Styrene strips #156.  Measure from the top of the number board to the roof line.  The port is angled at the bottom so using a hobby knife cut about about a 35 degree angle.  The Evergreen #156 bags comes with several strips, so if you don't get the angle right, keep trying.  Do the angle first, length second.  On the top, I used a [ channel piece of styrene.  I don't know what the size is but it should the same width of the #156.  I found it by accident in my scrap styrene. 
The 3 chime rear horn is a little challenging but a great add on.  I have done many options over the years but the last is the best method:
The rear facing three chime horn is a must for any RF&P Geep.
I started by using a Atlas stock horn.  It's the horn that comes on the Atlas GP40's and GP40-2's.  You can order them from Atlas.   Cut the mounting tab (discard) and the lone rear chime off.  Glue the removed chime between the 2 remaining horns.  Next take small piece of  styrene and glue it where you removed the chime.  This is the mounting pad to the rear of the loco.   After the chime and mounting pad have dried, glue it above the rear headlight.  The only downfall is that the horn is easily knock off.   I will detail Athearn's SW1500 in part two.